Ok -- so I have mapped out the design, ordered the lumber, and got the tools.
So starting in about November of '05, I began the framing process. I considered using metal studs instead of the wood, but thought that the wood would be easier to work with, and since the floor joists above weren't exactly straight, getting the exact measurements for the metal studs would be more difficult, while it was easier to trim off the wood studs. The next decision I made was regarding how i contructed the walls. Some sources recommended laying down the bottom plate, nailing up the top plate, and then toe-nailing the studs in between. Other sources recommended constructing the wall on the ground, then standing it up, and attaching it to the floor/ceiling (using shims where necessary). My primary resource (the Remodeling a Basement book) recommended the former method. I ended up choosing this method for a couple reasons: 1) Since I was working primarily by myself, this was easier, since I wuld have needed help standing the wall up 2) it was easier to adjust mistakes this way (and I planned on making plenty) 3) Since the heights were pretty uneven, much easier to cut differnet length studs than try to adjust the wall by using shims.
At first, the going was a little slow, since I was learning as I went. But after about a month, my efficiency went up quite a bit. The process was usually as follows:
- measure the length of the wall segment I was going to do
- Cut equal length bottom plate (treated) and top plate (untreated)
- clamp these together and mark off stud locations on top and bottom of each plate
- nail in bottom plate using powder acuated nailer, using chalklines as guide
- if floor joists running parallel to wall, put blocking in between studs every 2 feet or so to use to attach top plate
- using straight stud and level, mark off locations along ceiling where top plate should go
- clamp top plate to ceiling
- use nail gun to attach top plate
- measure/cut studs for wall segment and fit into wall (snug enough to stand on own, makes it easier to nail)
- toenail studs using framing nailer
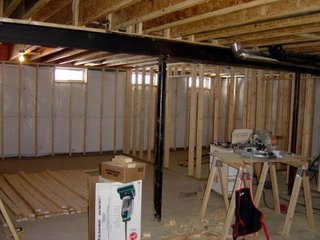
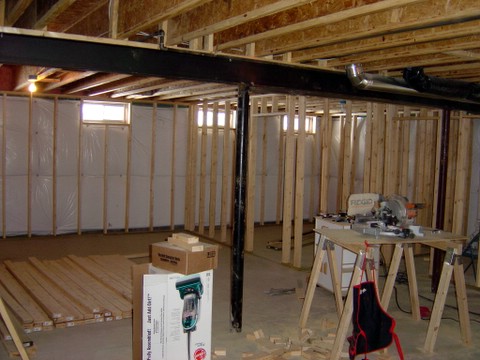
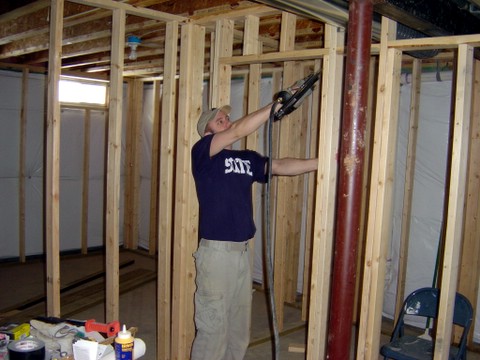
Framing construction proceeded on and off from November until about March. There were some stretches in which I got a bit of work done (I took off a couple days in December) and others where I couldn't work on it for 2-3 weeks. Below are some pictures of the framing before I added any of the other systems (electric, plumbing, mechanical).
During the construction, made a couple changes to the design: switched the "execercise room" with the "storage room", moved where I was gonna put the cabinets, among others. I'll cover the soffit construction in another post, that was a bit of a pain.
|
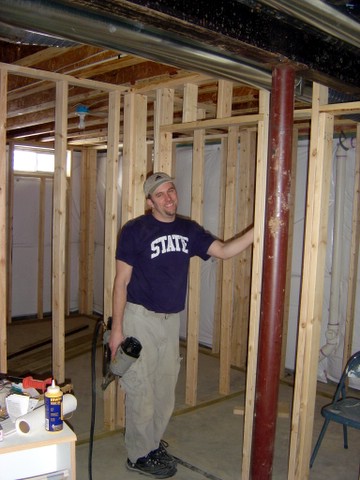
Thanks to Steve and Mike who stopped by one night, and the help (of course) of Katie who often came down to help hold up a plate, or help measure stuff.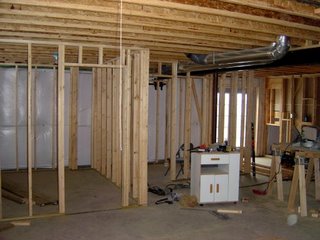
|


0 Comments:
Post a Comment
<< Home